
Johnny A.'s "Sleigh Ride"
Well it’s that time of year again, and Christmas is upon us once more!
Whenever the holiday season rolls around, I'm reminded of the year I created an animated music video.
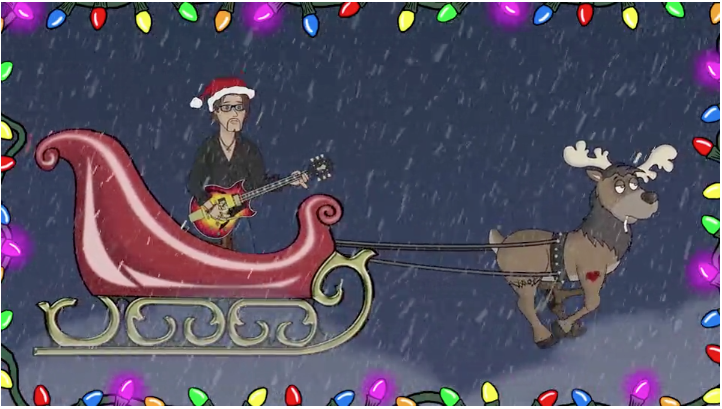
In 2012 guitar virtuoso, Johnny A., asked MediaBoss to produce an animated music video for his rendition of “Sleigh Ride.” I was the animator on the project.
I was still a fresh face around MediaBoss and only had a few animations with them under my belt. It was my first long format animation and I was extremely excited to take a shot at animating the entire song.
In this post I'm going to share the 4 part process I used to create "Sleigh Ride" - and share the one part I’d change.
1) Reference & Research
The first step in the process is creating and finding reference footage. This allows you to see how the subjects you’re creating will look and move.
We took footage of Johnny A. playing the song in our studio so we knew the positioning of his hand and fingers on the neck of his guitar.
Throughout the song Johnny flies around the world - from city to city and country to country. I pulled reference photos of the different locations I wanted to show Johnny flying by.

2) Sketching
Before I create the characters digitally I sketch them out on paper. This lets me design the characters more freely and creatively than doing them straight to Photoshop or Illustrator.
I did this for Johnny’s character, Santa and Doug The Christmas Moose.
3) Digital Drawing
I took the sketches I’d created on paper and scanned them into my computer. Then, I brought those sketches into Illustrator to complete the line work. Once the line work was done, I brought them into Photoshop. Then I applied color, shading and texture.
When creating the backgrounds, I skipped the step of going into Illustrator. I drew the line work, color and shading all in Photoshop.
For this style of animation it’s important to separate the different body parts into individual layers. This way you can animate them independently.
4) Animation
The final, and most important step (duh,) is animating what I created. I set anchor points on all the individual body parts and parented them accordingly so his motion mimics that of a Real Life person.
It’s the, “Elbow’s connected to the… wrist bone” song. Or how I more commonly refer to it, "the paper puppet".
Remember when you were in Kindergarten and you made puppets? You cut out different parts of a body and stick pins through them so you can move them around on your paper person. Same principle.
Along with animating the characters, I placed a camera in the scene so I could go from a wide establishing shot to a close up of Johnny and Doug.
Finally, I composited clouds and snow and completed color grading and color correction. And there you have it - the animation is complete!
What I’d Change:
There are changes I’d make in all the animations I create. But, due to approaching deadlines and more projects coming in the door, you have to learn to let it go and let the project be finished.
If I could do it again (with more time), I would add more scenes on the ground. I'd love to show different people from all over the world celebrating Christmas with their own traditions. This would give the animation a great dynamic that would make it even more interesting and fun to watch.
But, due to the tight turnaround time of this animation these edits weren't able to make it to the final cut. But who knows, maybe we'll run into Johnny A. and Doug the Christmas Moose again soon!
CONCLUSION:
Like many parts of production, the process we use to produced animated video depends on the project. The step that doesn't change is the high quality end result we deliver to our clients.
Additional Resources:
- The Ultimate Guide to Producing an Animated Video
- The MediaBoss Production Process
- The Practical Guide to Pilot Production
- In Post We Trust: Our Approach to Editing Video

Comments